CERAMIC LOW FLUSH TOILET

You are here:

Product Features

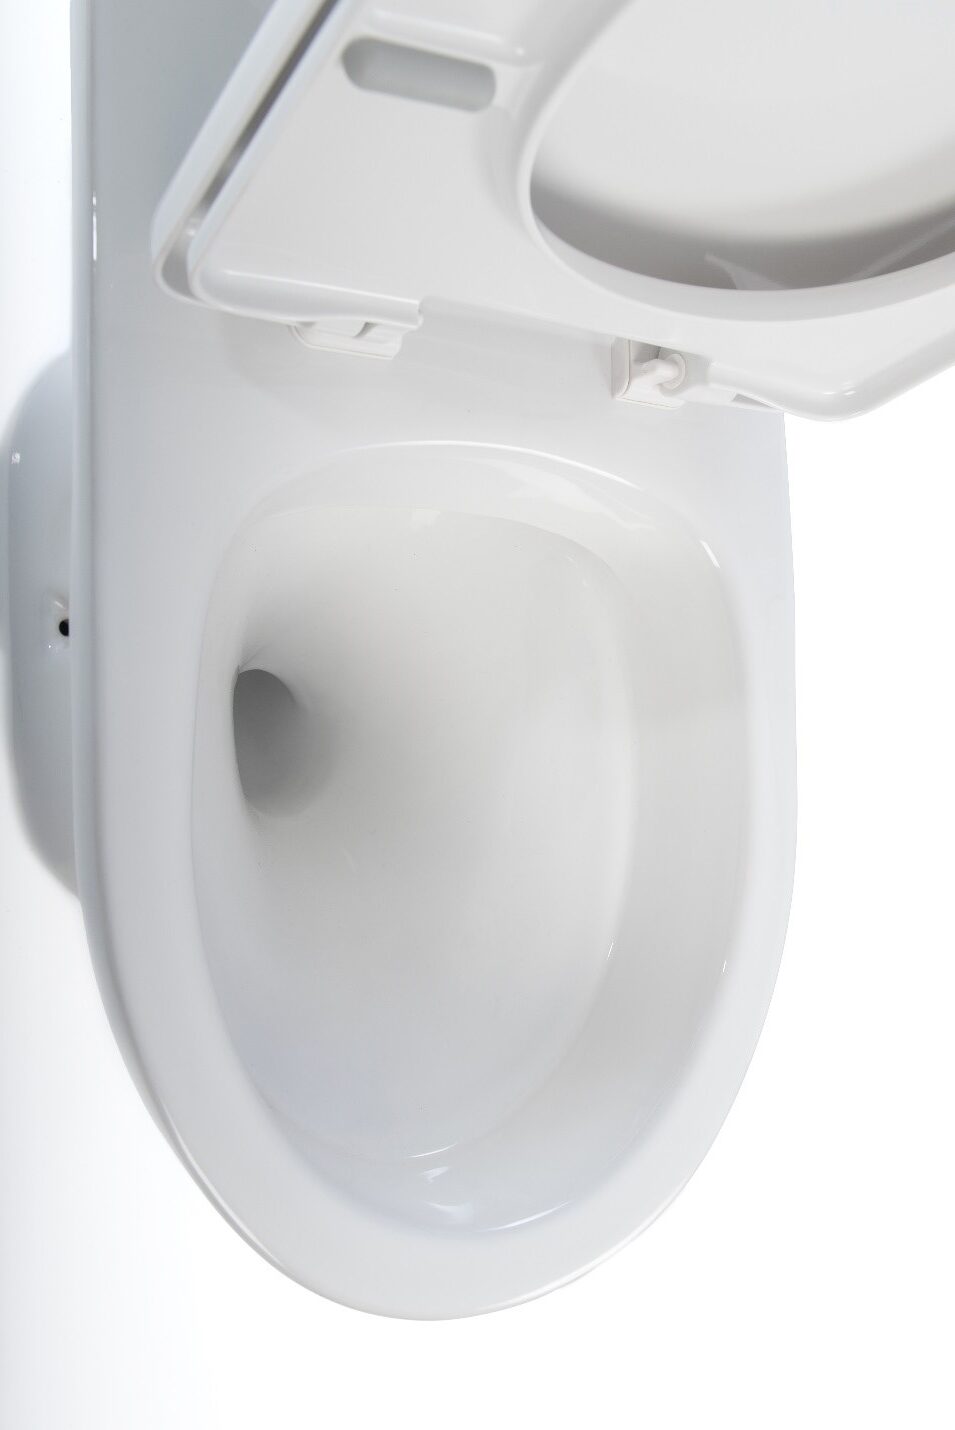
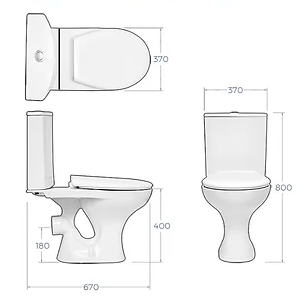
  • Close-coupled toilet

  • High quality ceramic glaze

  • Easy to clean rimless design

  • Water saving flush mechanism
  • Push Button flush
  • Multi-flush cistern – no more waiting for the cistern to refill
  • Vortex flush for effective cleaning of surfaces
  • Spiral trap reliably clears waste out of the toilet
  • Standard inlet and outlet connections for easy installation
  • Also available in plastic

Water Savings

Location Typical Toilet Use Water Use (per month) Water Savings (per month)
Household 20 flushes/day 720 litres 2,880 litres
School 50 flushes/day 1,800 litres 7,200 litres
Office 25 flushes/day 900 litres 3,600 litres
Public Ablutions 75 flushes/day 2,700 litre 10,800 litres

International Patent

No: WO2016/063257 A1

Toilet Dimensions

How To Install Toilets

UNBOX YOUR NEW ARUMLOO TOILET
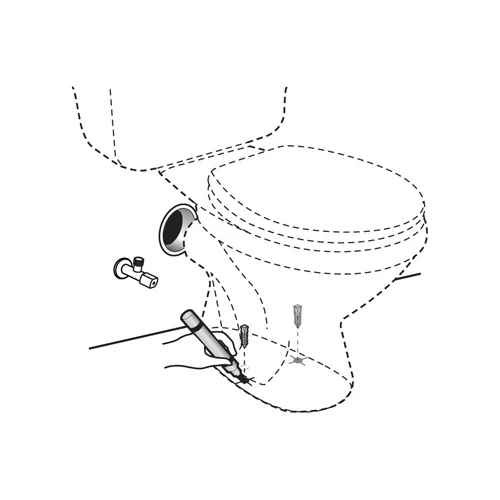
  1. Fix the cistern tank and toilet seat to the pan
  2. Make sure the screws are tightly closed and both sit perfectly on the pan.
  3. Install the cistern mechanism inside the cistern tank as per the instructions included in the link below:
blank
blank

BASE MARKINGS

  1. Mark the holes for the screws to fix the pan to the bathroom floor.
  2. Use the pan fixations provided to fix the pan to the floor.
  3. Make sure the toilet is sitting straight and not at an angle to the wall.

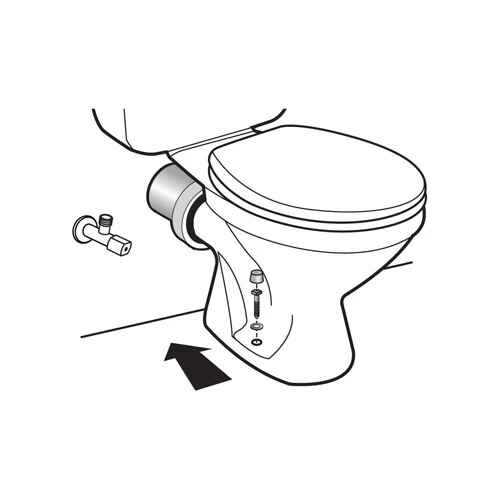
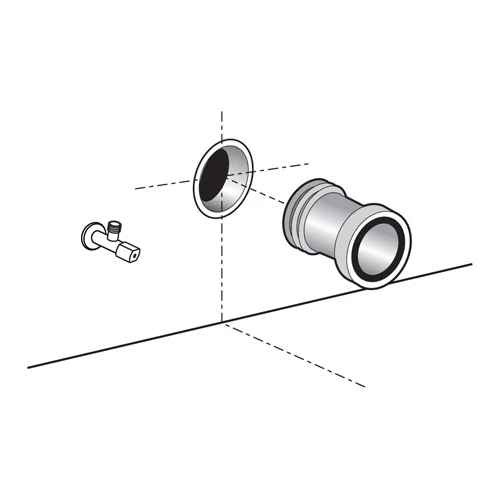
CONNECT TO DRAIN AND WATER OUTLET
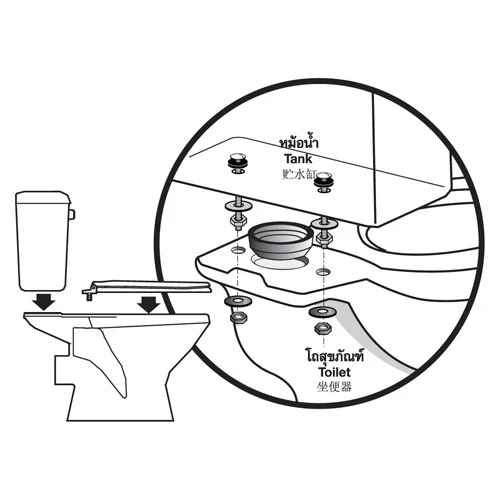
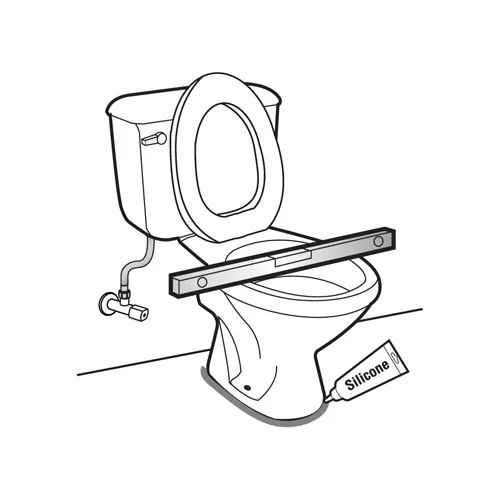
  1. Fix the WC connector to the wall drainage.
  2. Fix the angle valves and flexi connector to the water outlet.
  3. The flexi connector will connect the water supply to the cistern tank.
blank
blank

CONNECT TOILET

  1. Place the toilet back on the floor hole markings.
  2. Connect the toilet to the WC Connector.
  3. Connect the flexi-connector from the angle valve to the cistern tank. Making sure angle valve is closed
  4. Tighten the fixing screws and make sure toilet is secure.

QUALITY CHECK

  1. Check the toilet is level with a spirit level and does not wobble.
  2. Switch on the angle valve and make sure tank fills with no leakages between connections.
  3. Seal the base with silicone to prevent water from sipping inside.
blank