Product Features
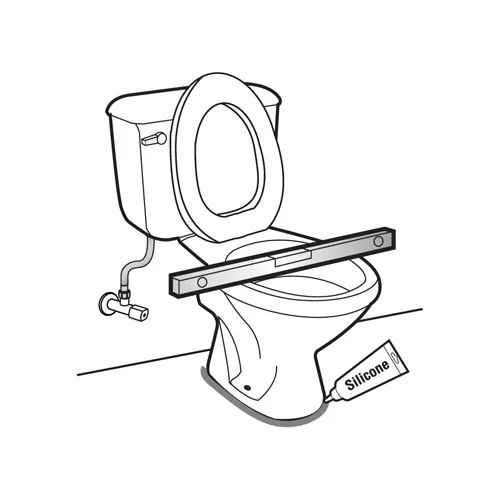
Close-coupled toilet
High quality ceramic glaze
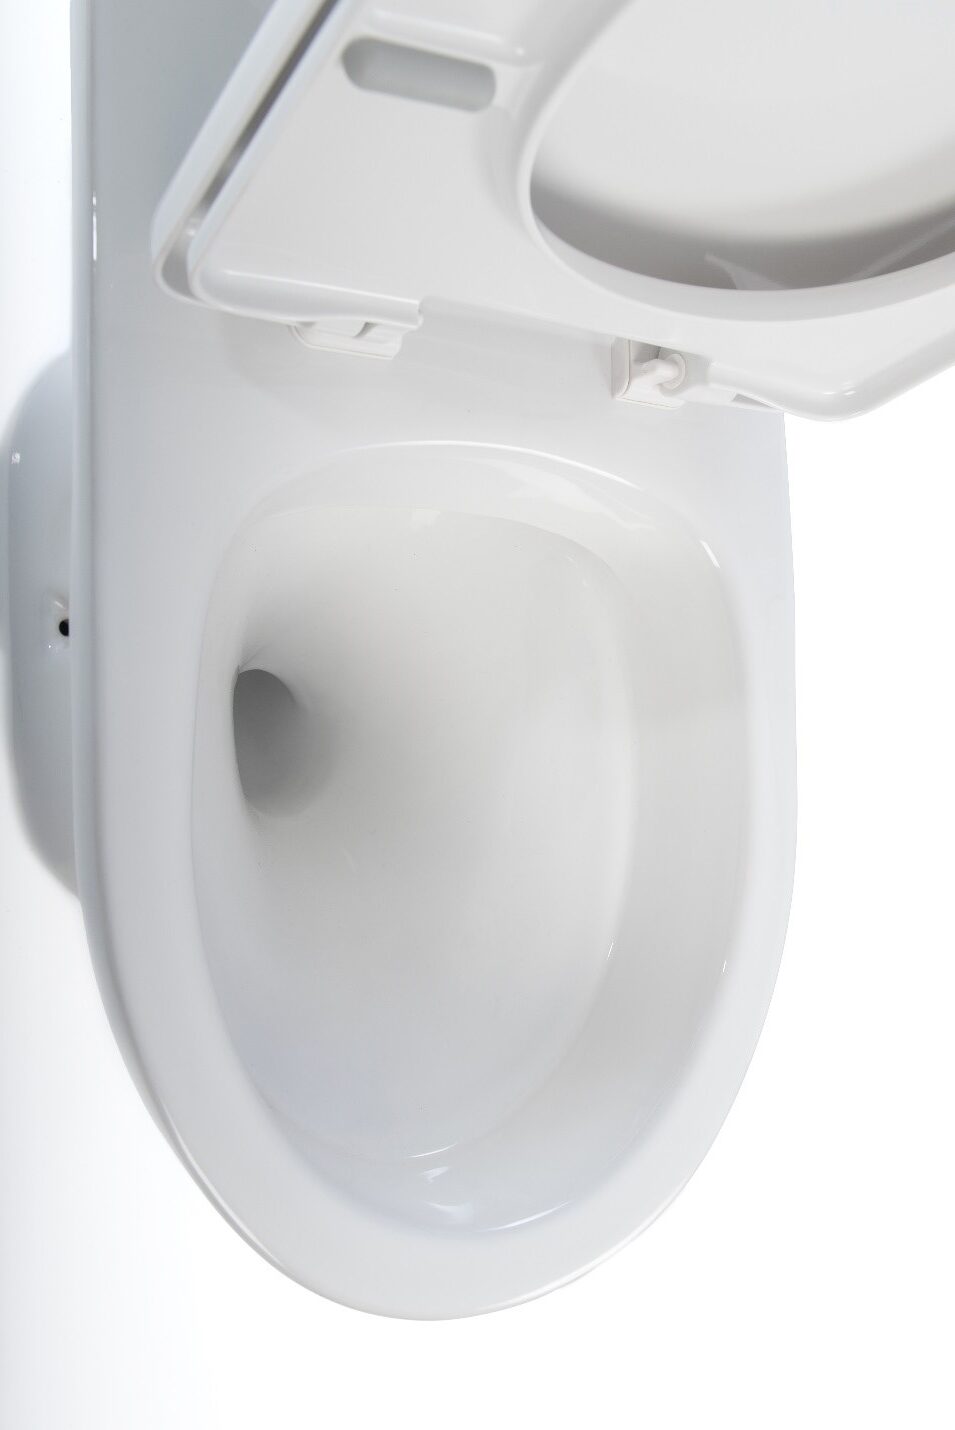
Easy to clean rimless design
- Water saving flush mechanism
- Push Button flush
- Multi-flush cistern – no more waiting for the cistern to refill
- Vortex flush for effective cleaning of surfaces
- Spiral trap reliably clears waste out of the toilet
- Standard inlet and outlet connections for easy installation
- Also available in plastic
Water Savings
| Location | Typical Toilet Use | Water Use (per month) | Water Savings (per month) |
| Household | 20 flushes/day | 720 litres | 2,880 litres |
| School | 50 flushes/day | 1,800 litres | 7,200 litres |
| Office | 25 flushes/day | 900 litres | 3,600 litres |
| Public Ablutions | 75 flushes/day | 2,700 litre | 10,800 litres |
International Patent
No: WO2016/063257 A1
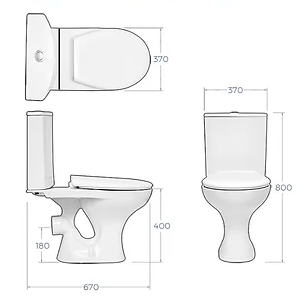
Toilet Dimensions
How To Install Toilets
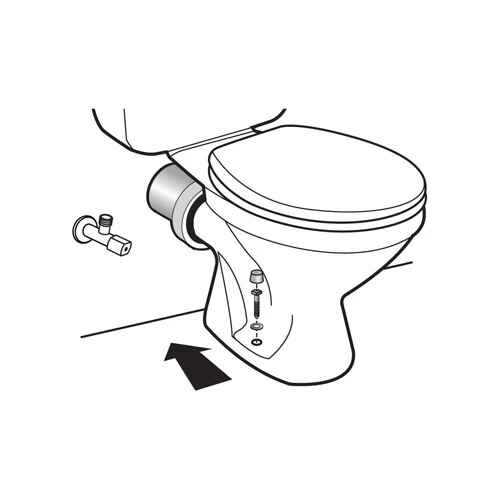
UNBOX YOUR NEW ARUMLOO TOILET
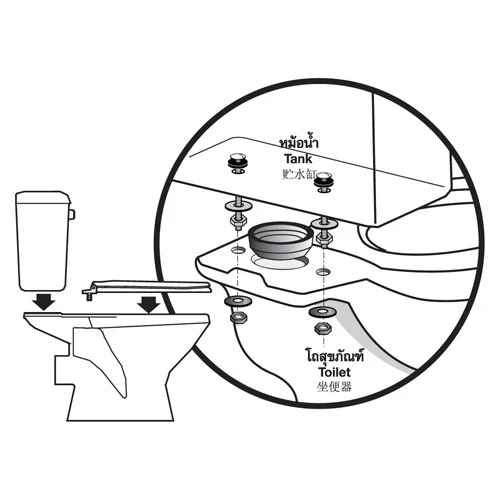
- Fix the cistern tank and toilet seat to the pan
- Make sure the screws are tightly closed and both sit perfectly on the pan.
- Install the cistern mechanism inside the cistern tank as per the instructions included in the link below:
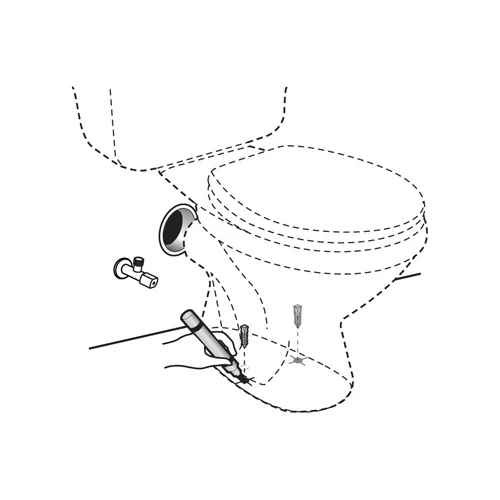
BASE MARKINGS
- Mark the holes for the screws to fix the pan to the bathroom floor.
- Use the pan fixations provided to fix the pan to the floor.
- Make sure the toilet is sitting straight and not at an angle to the wall.
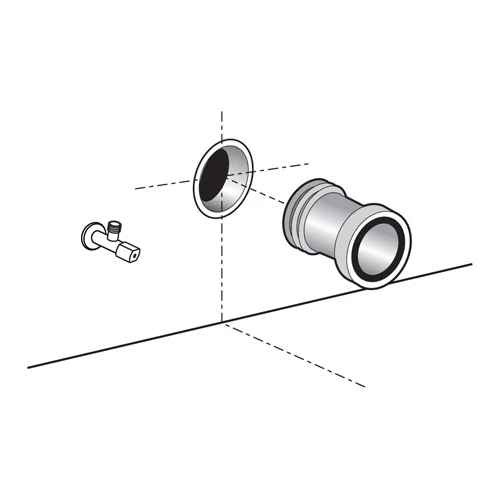
CONNECT TO DRAIN AND WATER OUTLET
- Fix the WC connector to the wall drainage.
- Fix the angle valves and flexi connector to the water outlet.
- The flexi connector will connect the water supply to the cistern tank.
CONNECT TOILET
- Place the toilet back on the floor hole markings.
- Connect the toilet to the WC Connector.
- Connect the flexi-connector from the angle valve to the cistern tank. Making sure angle valve is closed
- Tighten the fixing screws and make sure toilet is secure.
QUALITY CHECK
- Check the toilet is level with a spirit level and does not wobble.
- Switch on the angle valve and make sure tank fills with no leakages between connections.
- Seal the base with silicone to prevent water from sipping inside.
